Safety (PPE)
Always wear the correct PPE:
- Steel toe cap boots
- Overall
- Hard hat
- Latex gloves
- Safety glasses
Tools Needed
- Spanners: 13mm, 17mm, 19mm
- Socket set: 16mm, 17mm, 19mm
- Wrench set: 3/8 and 1/4
- Multimeter
- 6mm short bolt or pin
Step 1: Battery Check
Remove the battery (2x 19mm nuts) and check voltage before starting the vehicle.
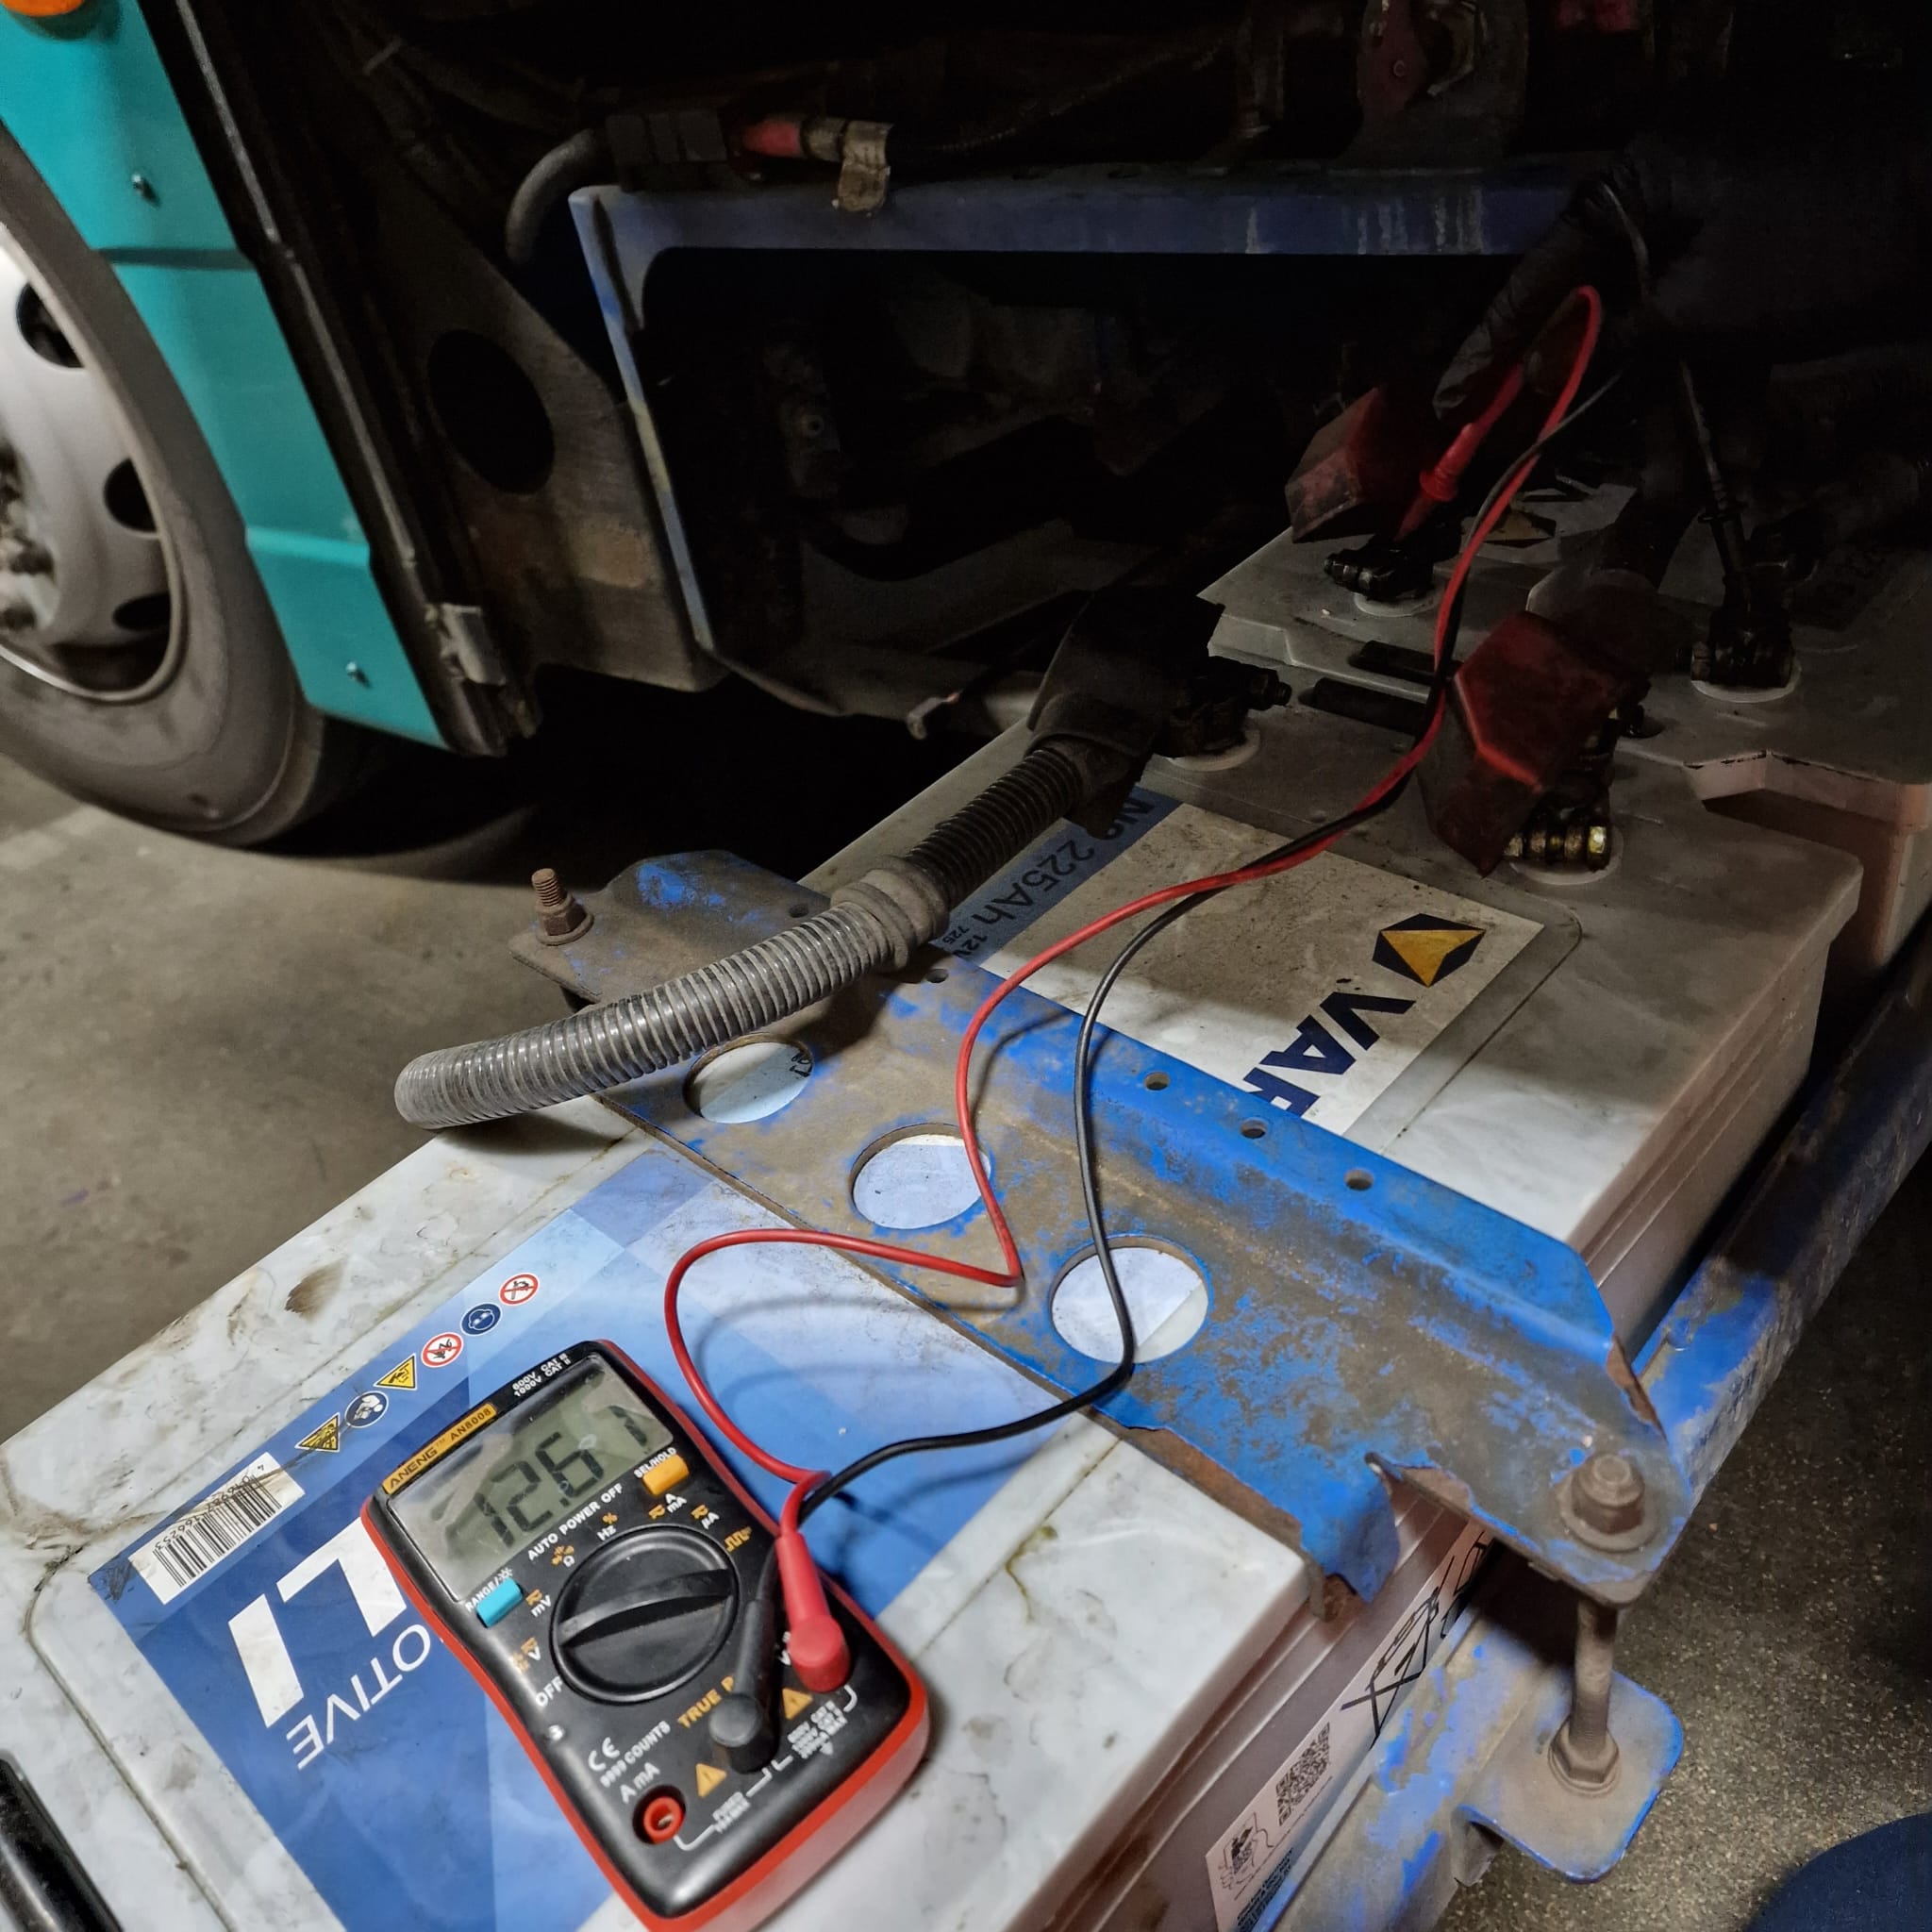
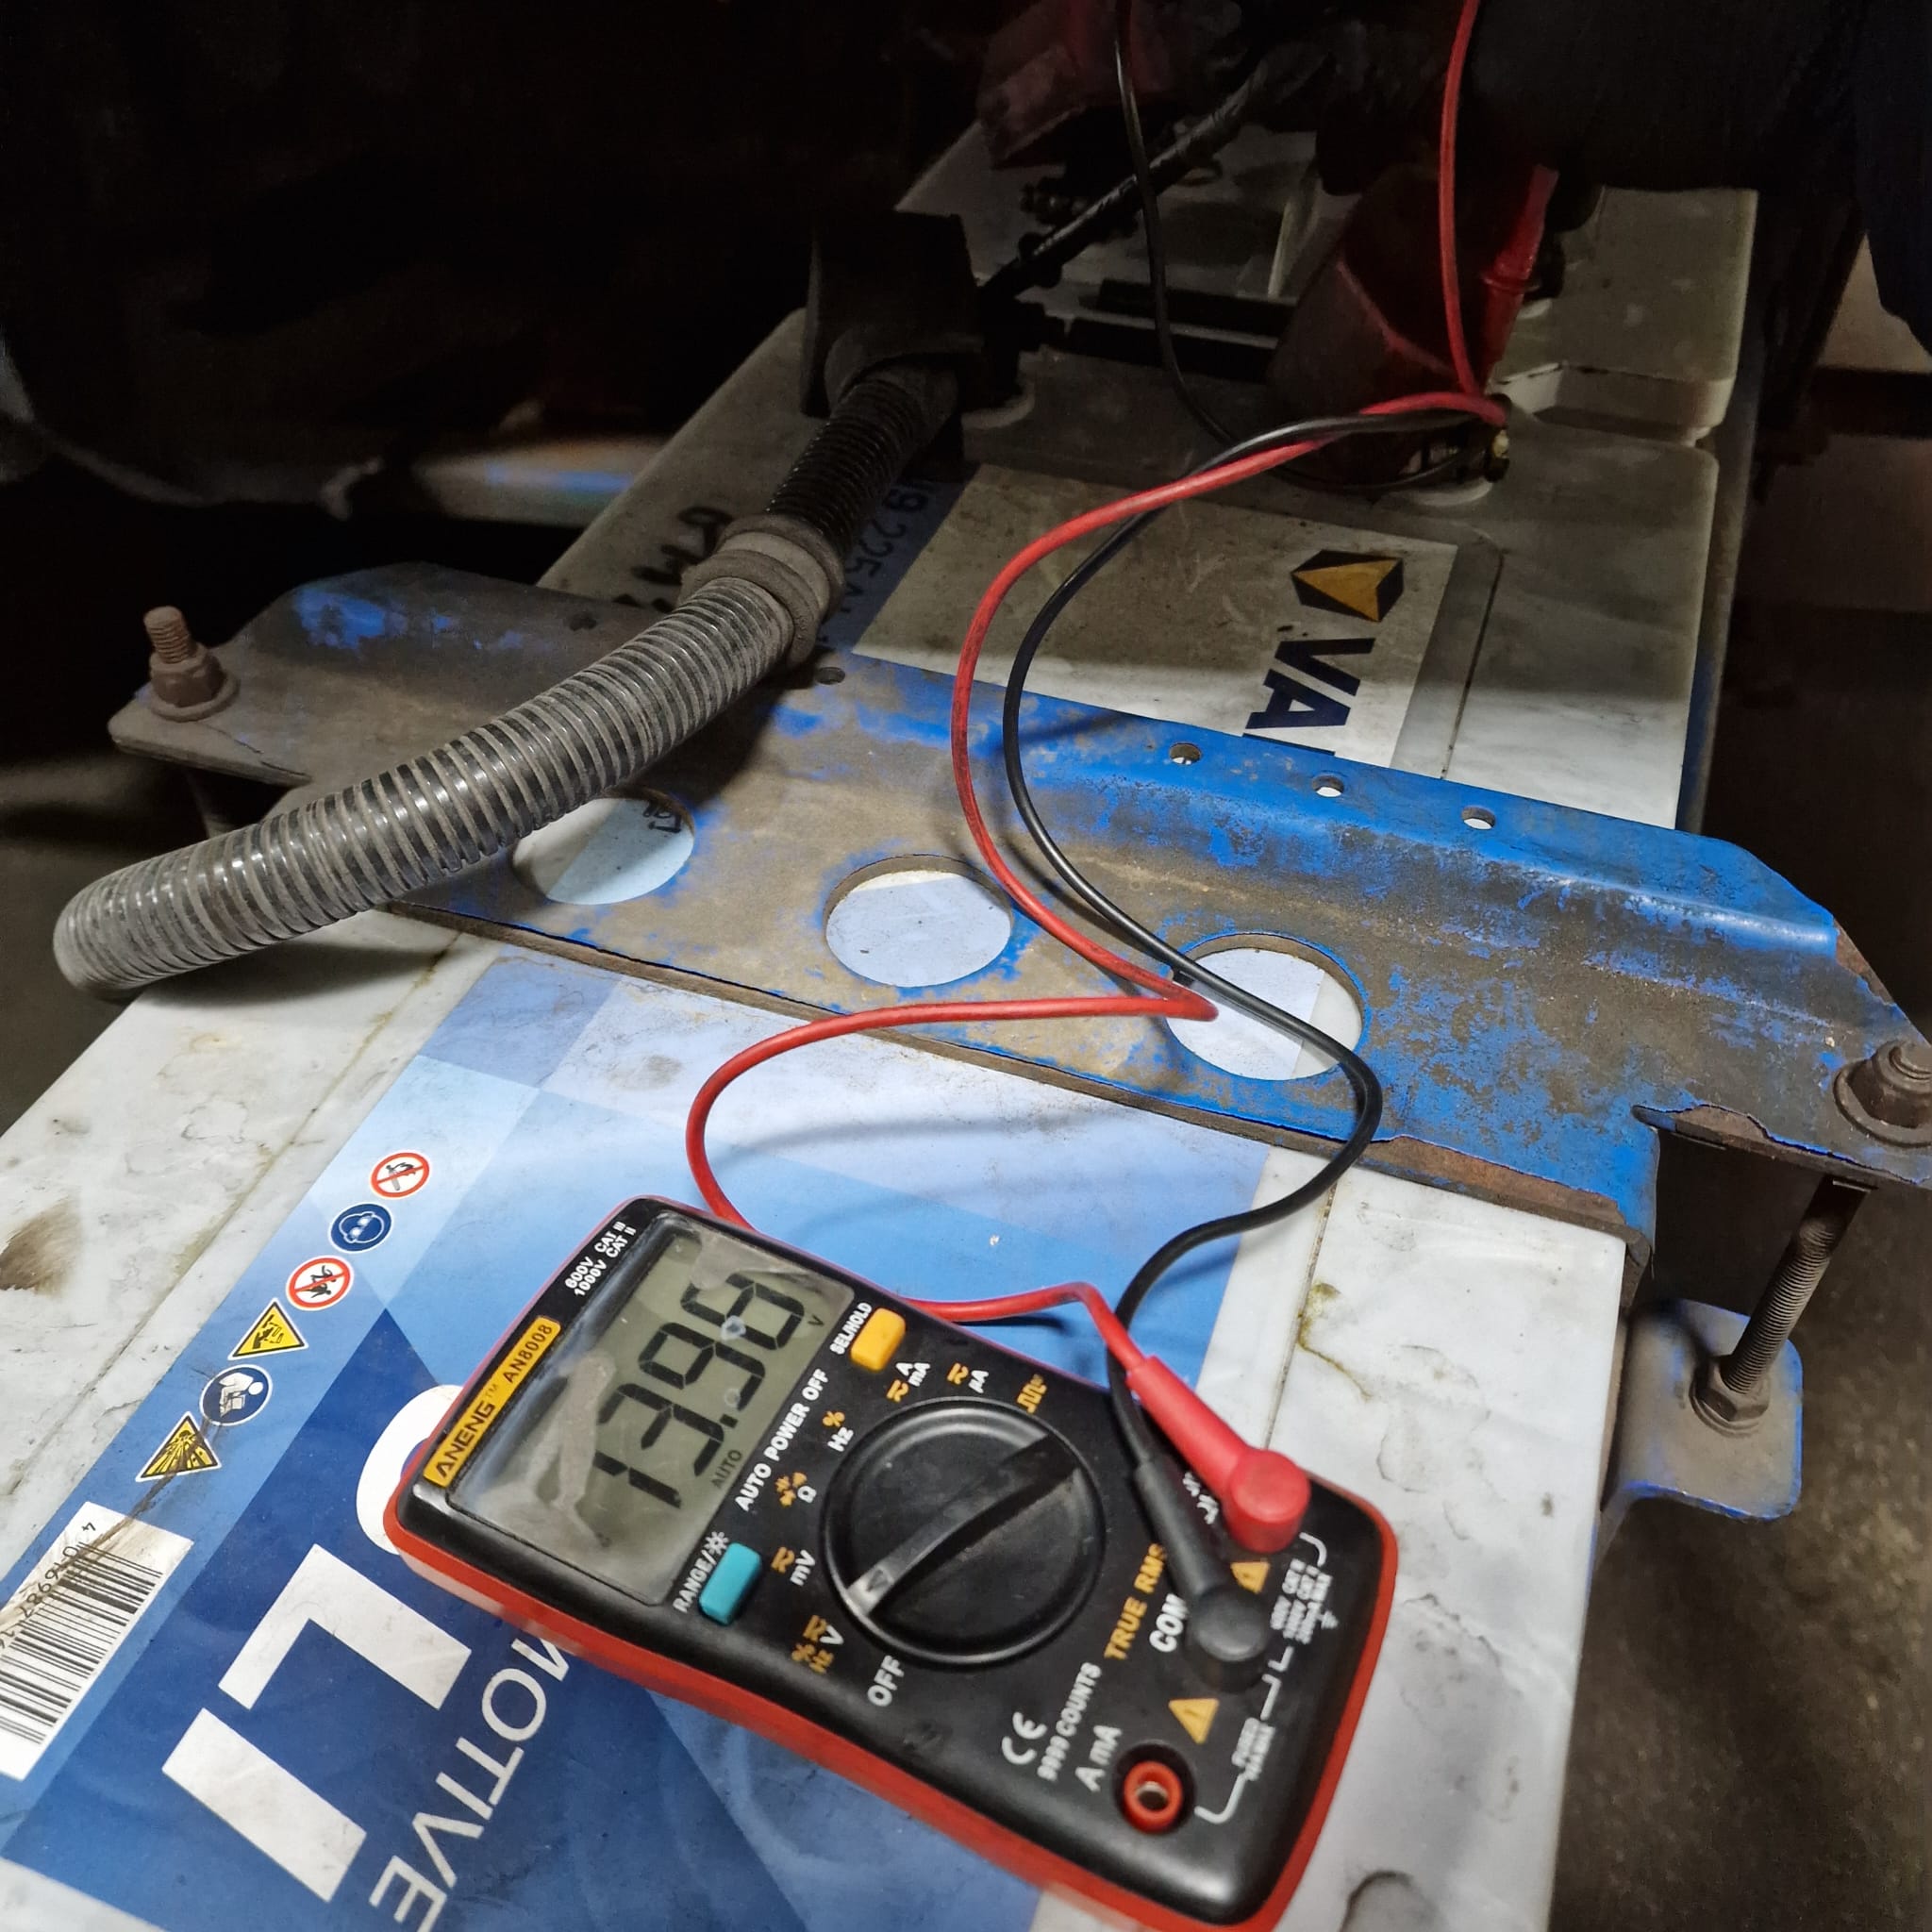
A healthy battery: 12.6–12.8V (engine off), 13.7–14.7V (engine running).
Step 2: Alternator Voltage Check
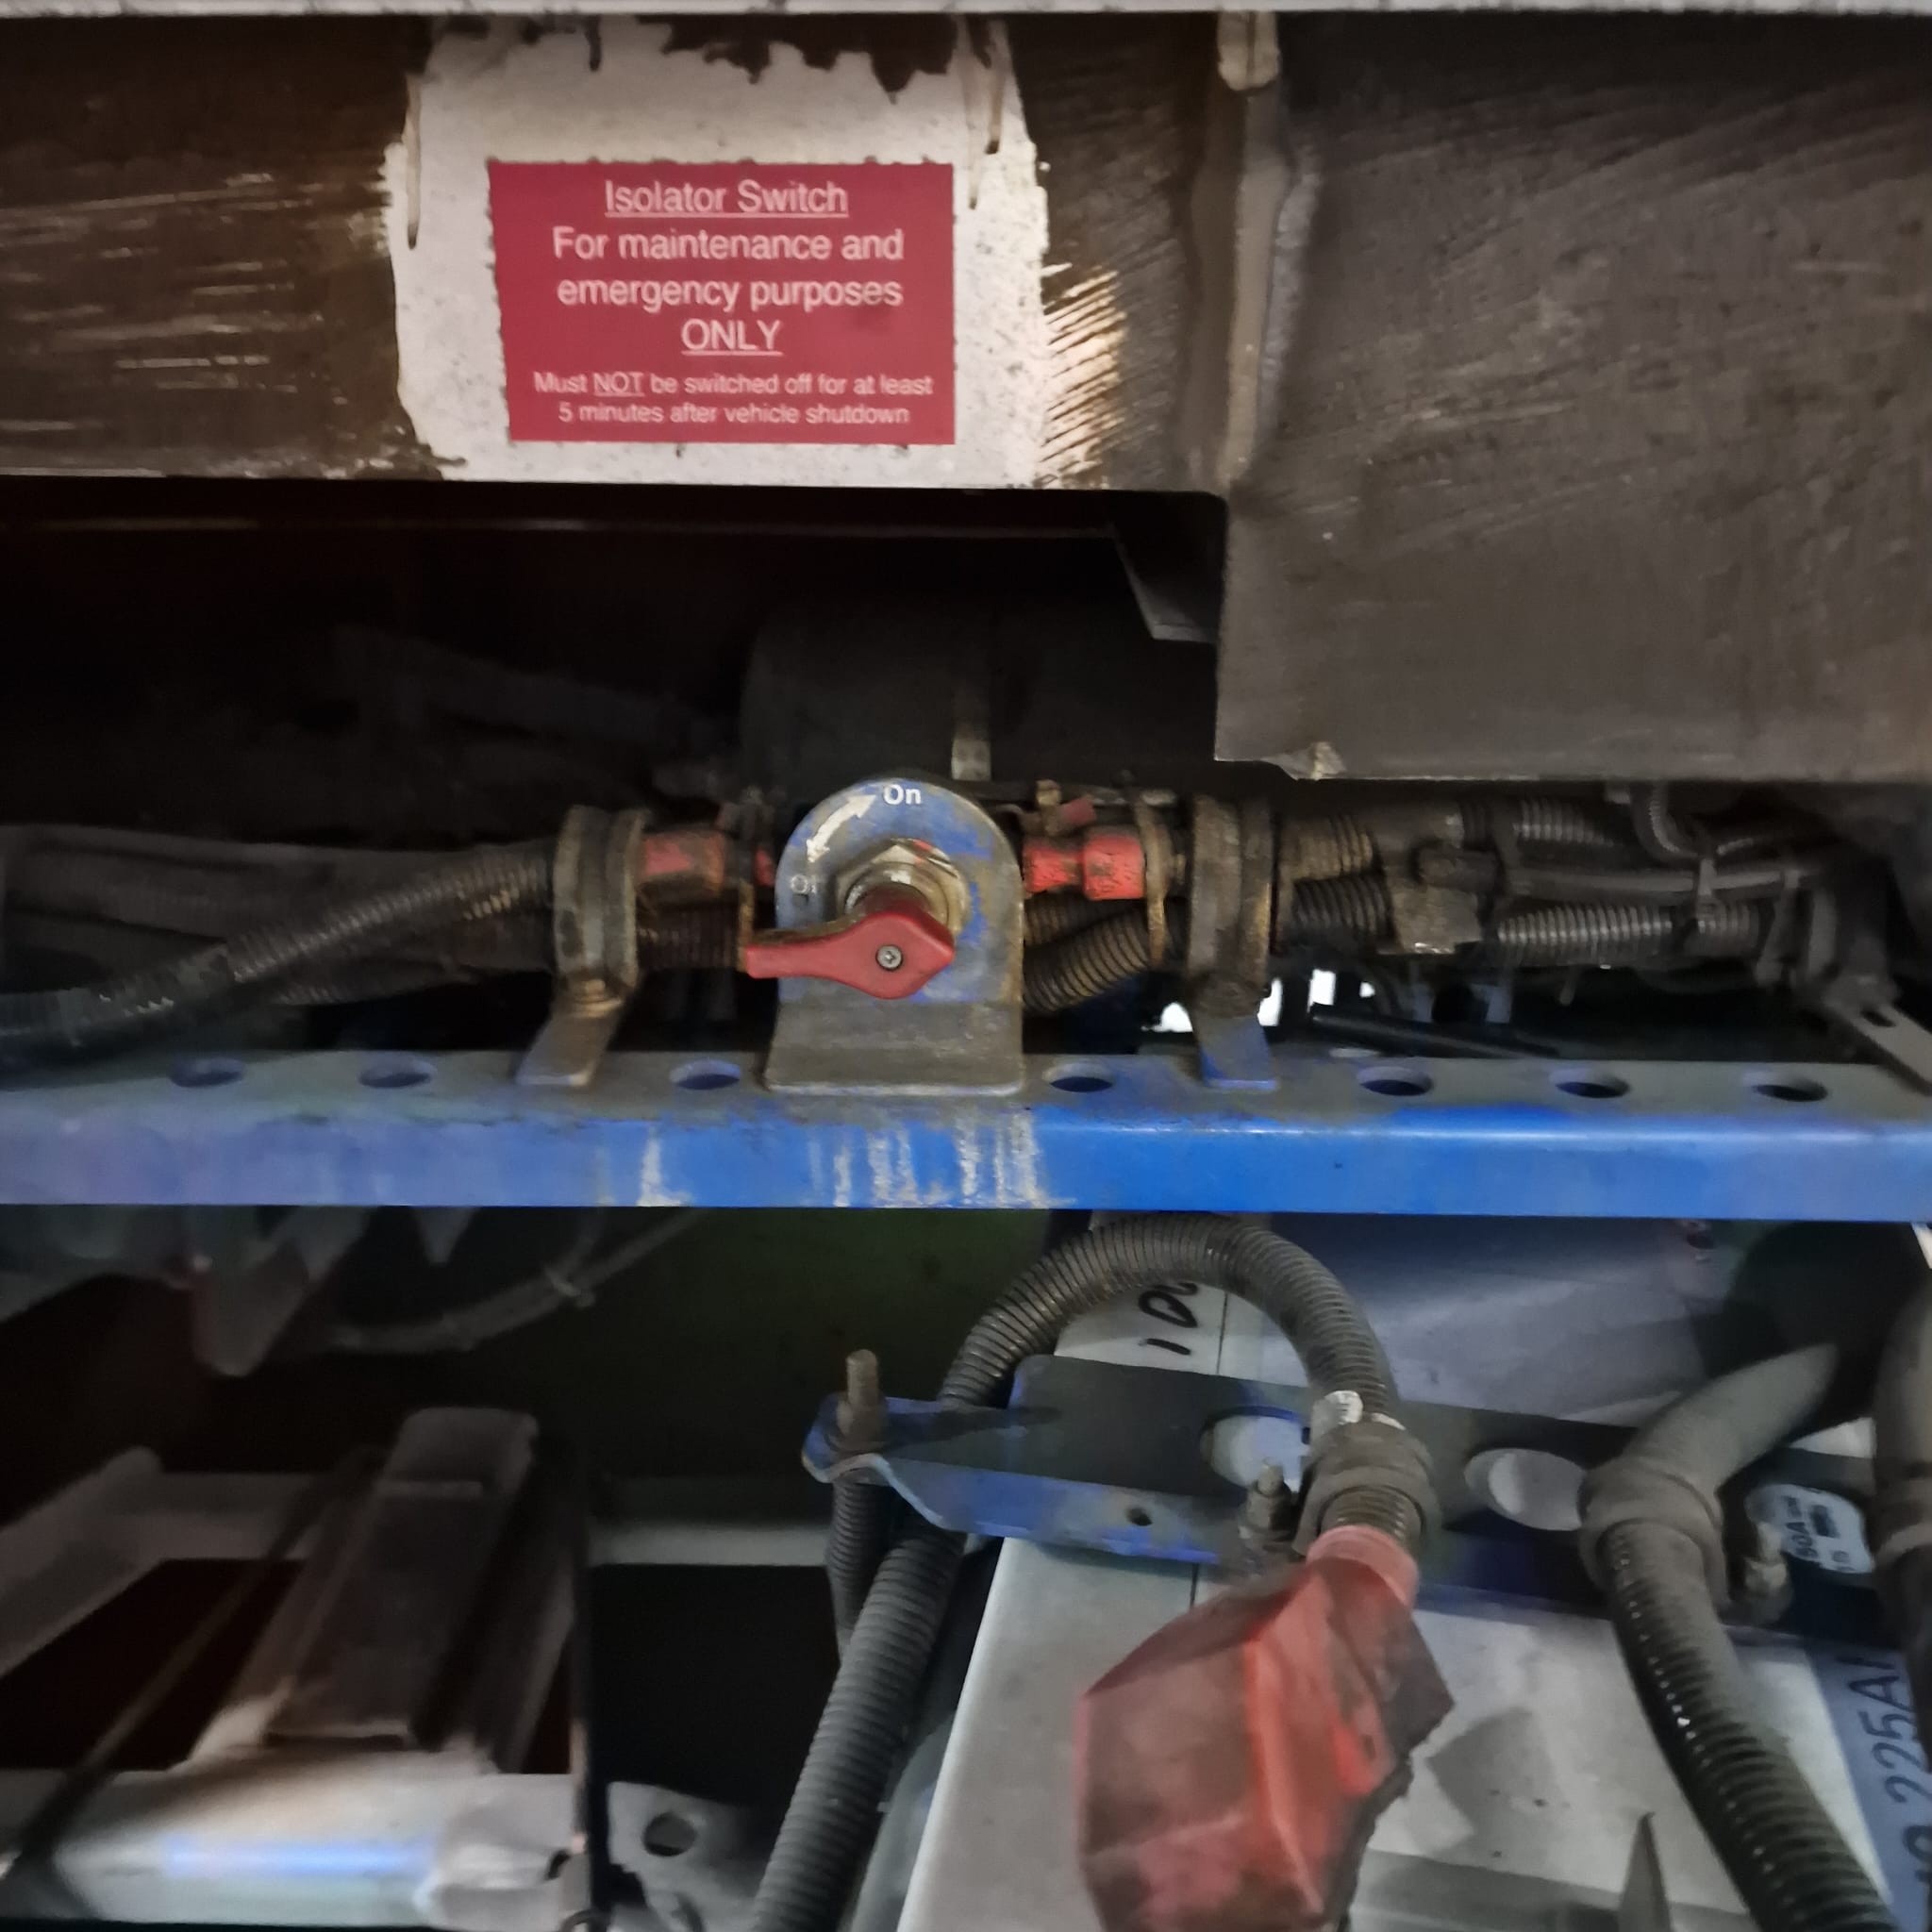
Turn off the bus and switch off the main power to protect the electronics.
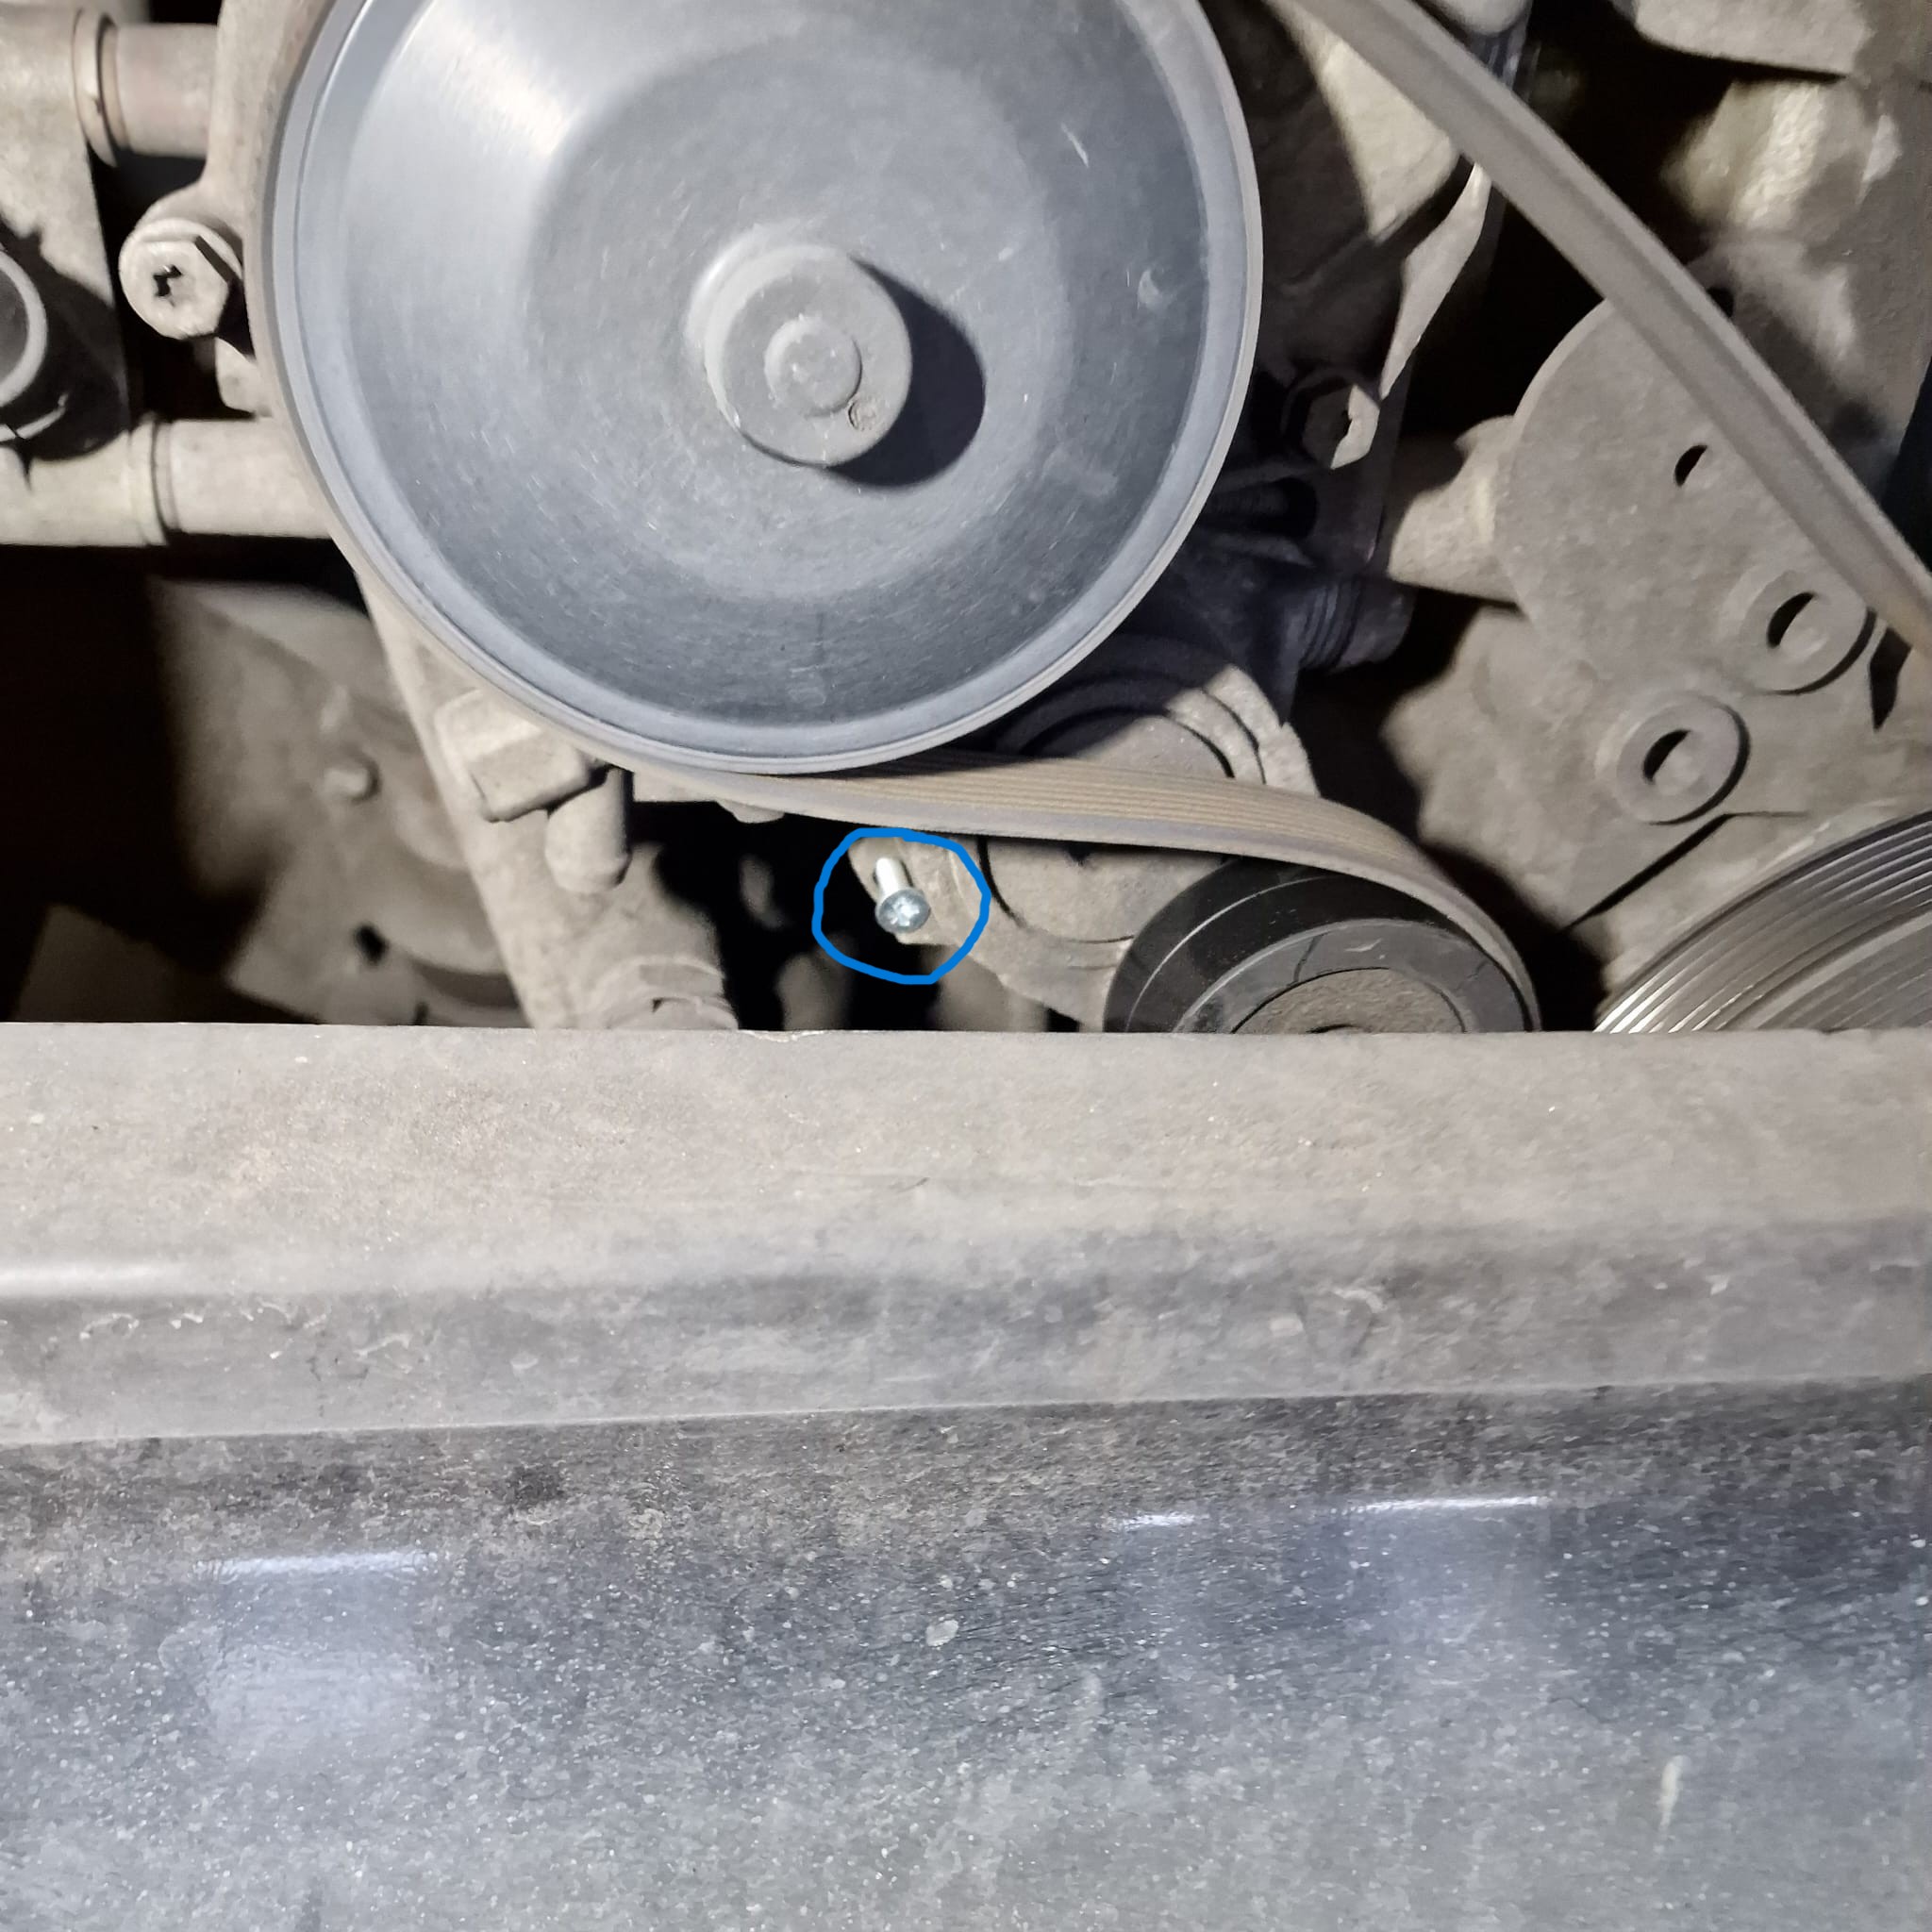
Step 3: Remove Belt
Use 16mm spanner/socket to release the tensioner and insert a 6mm pin to hold it.
Step 4: Disconnect Cables
Remove positive and signal cables (13mm spanner) behind the alternator.
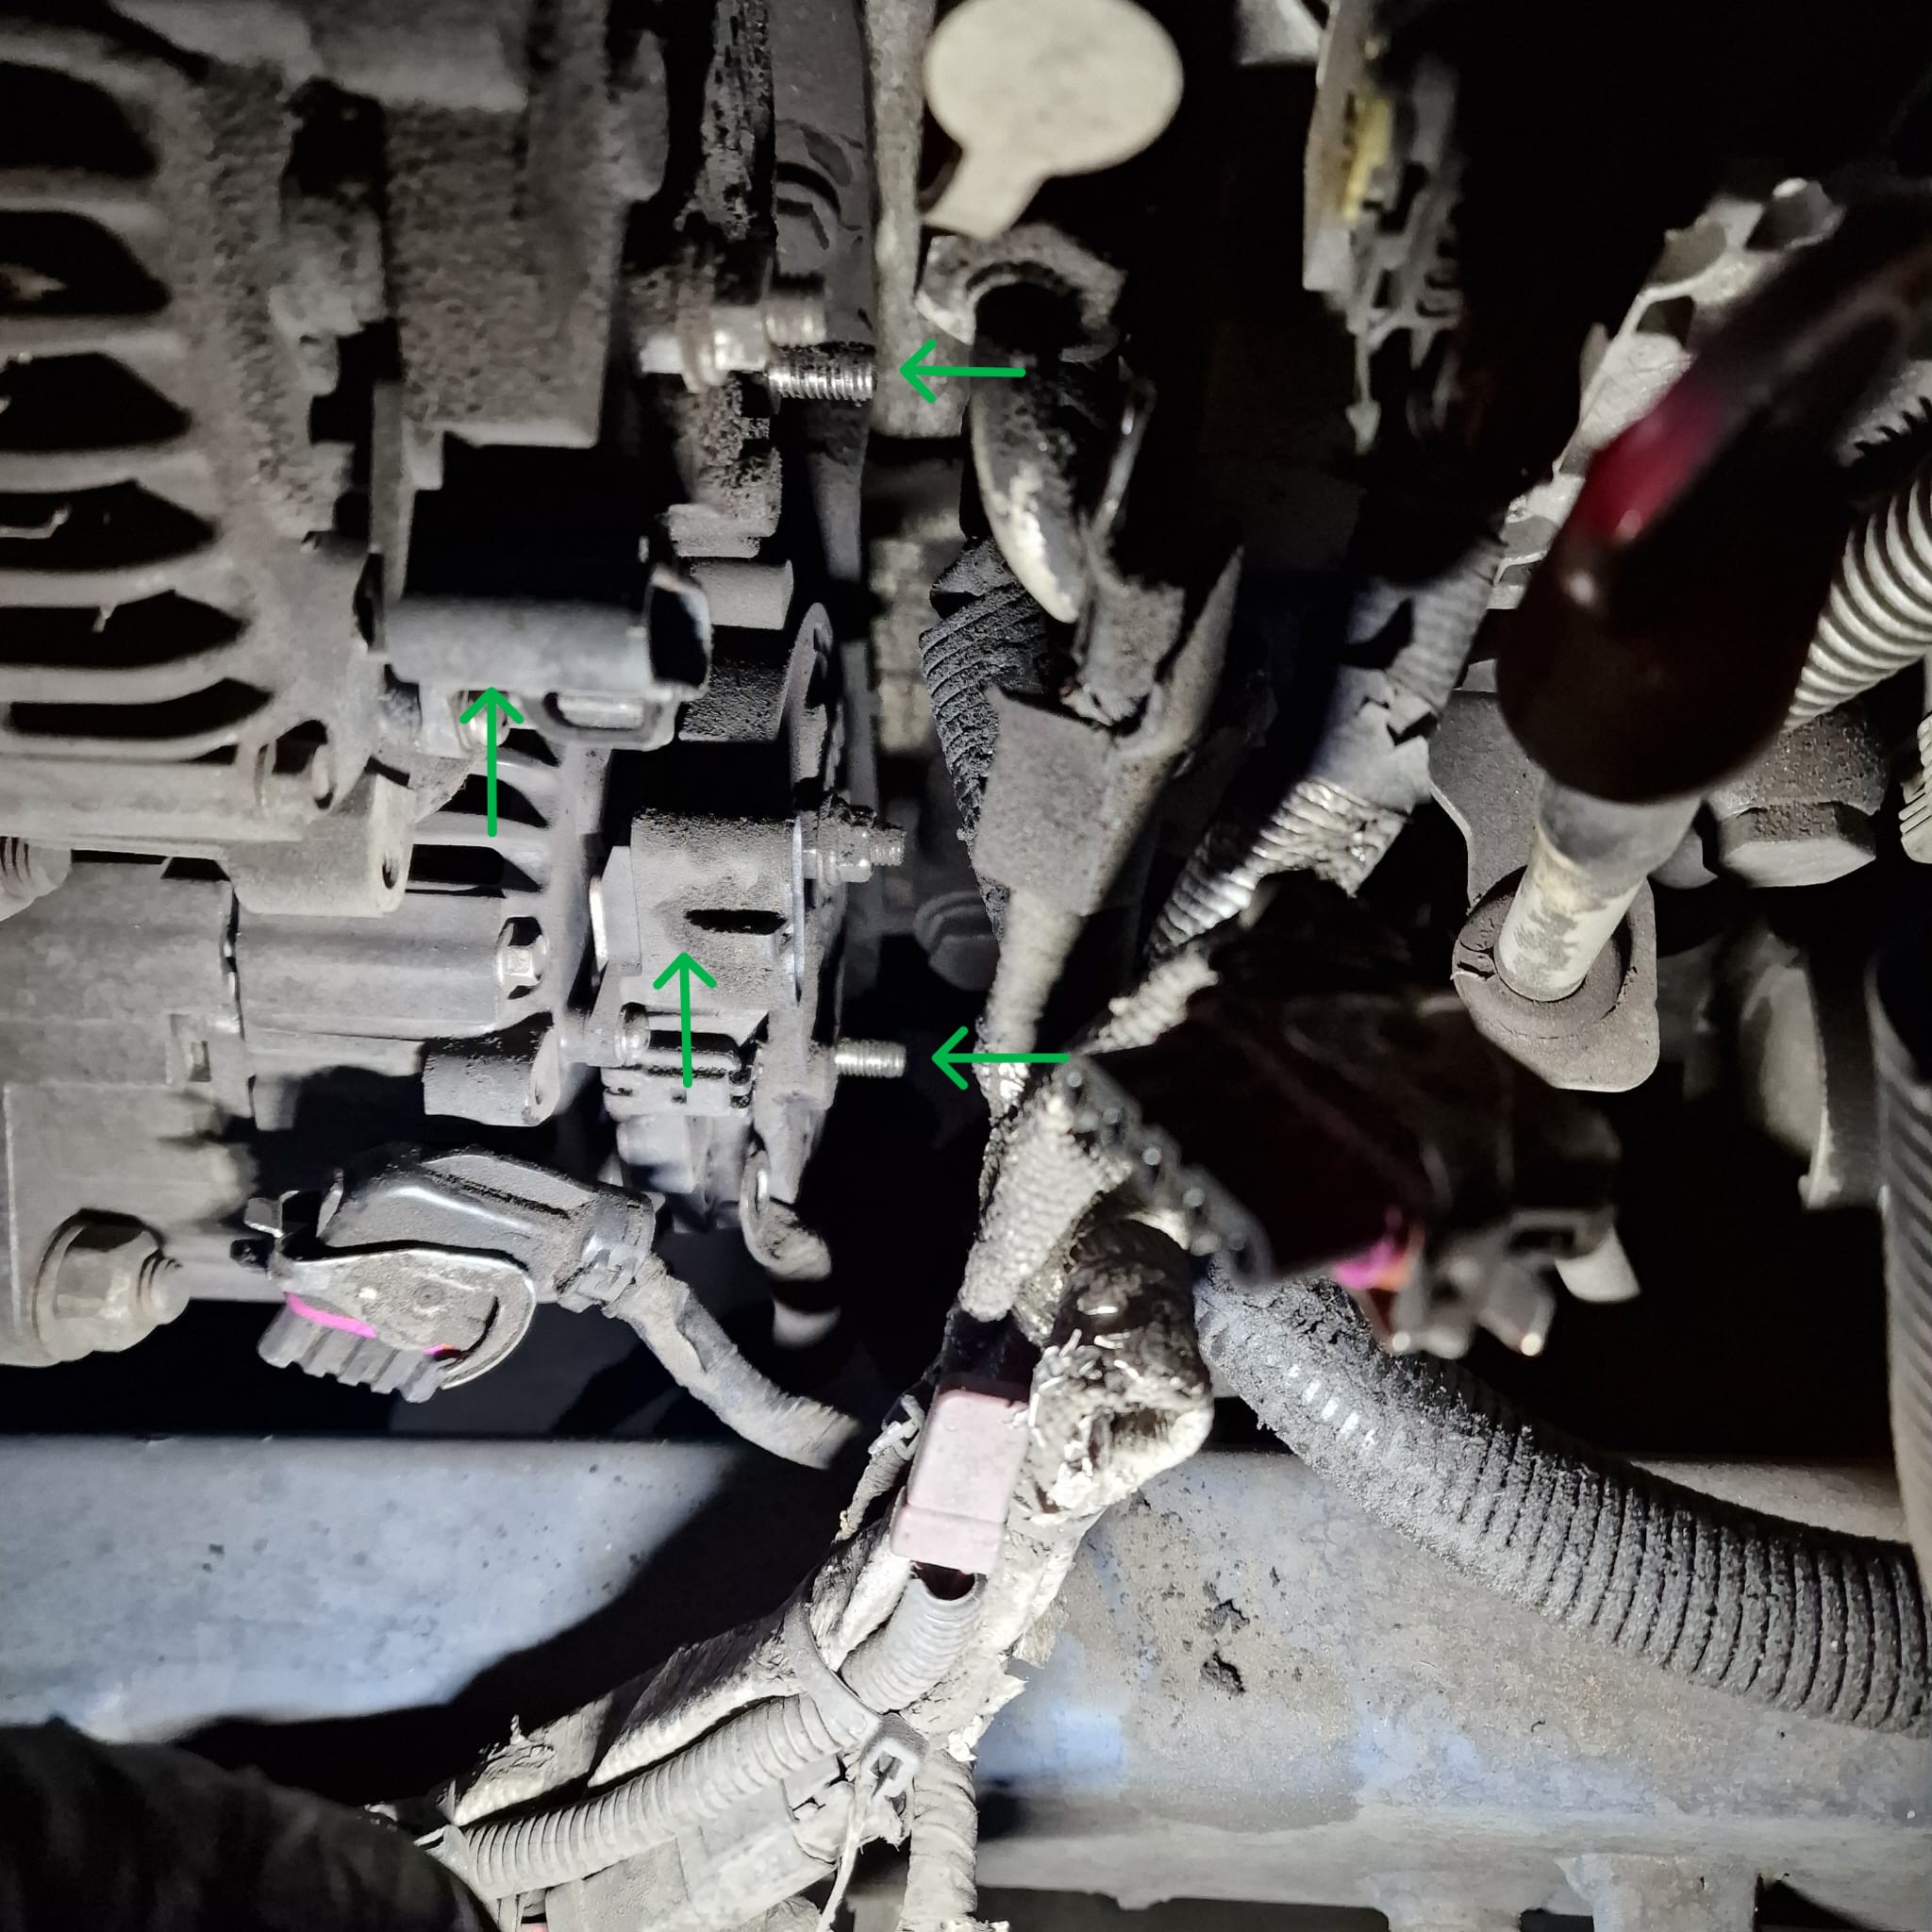
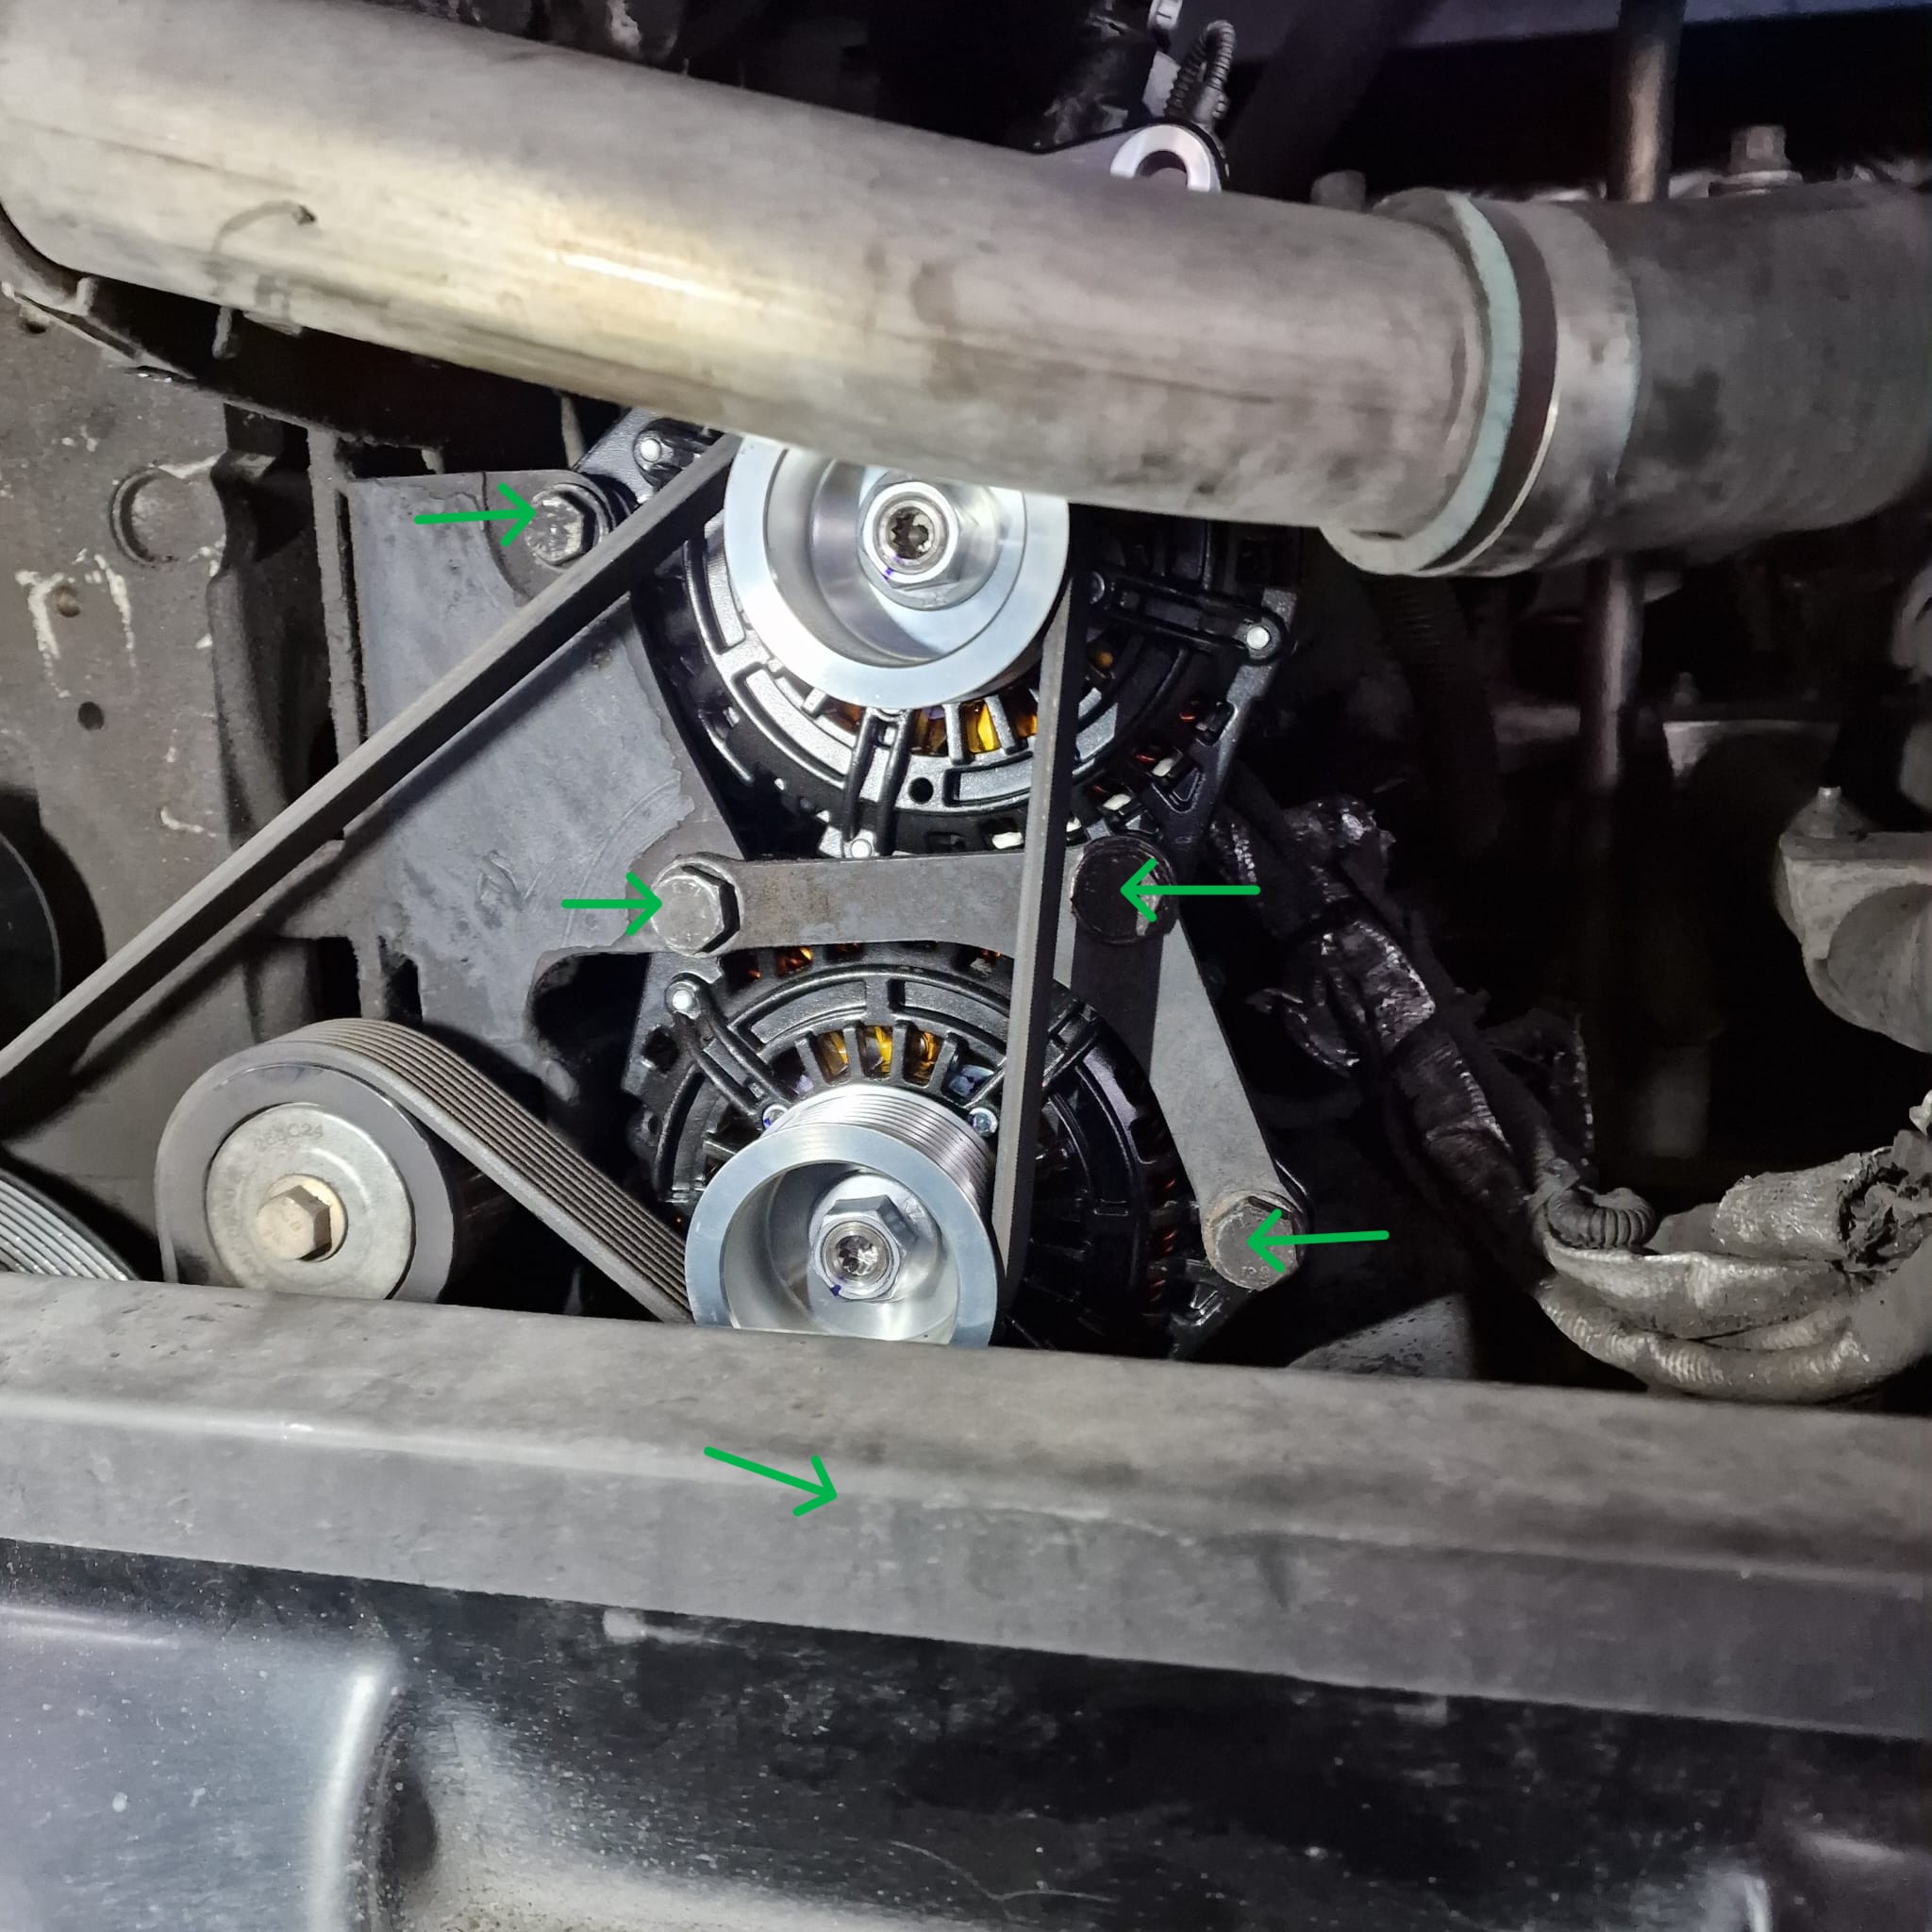
Step 5: Remove Alternator
Remove 5 bolts/nuts (17mm & 19mm). The alternator is heavy.
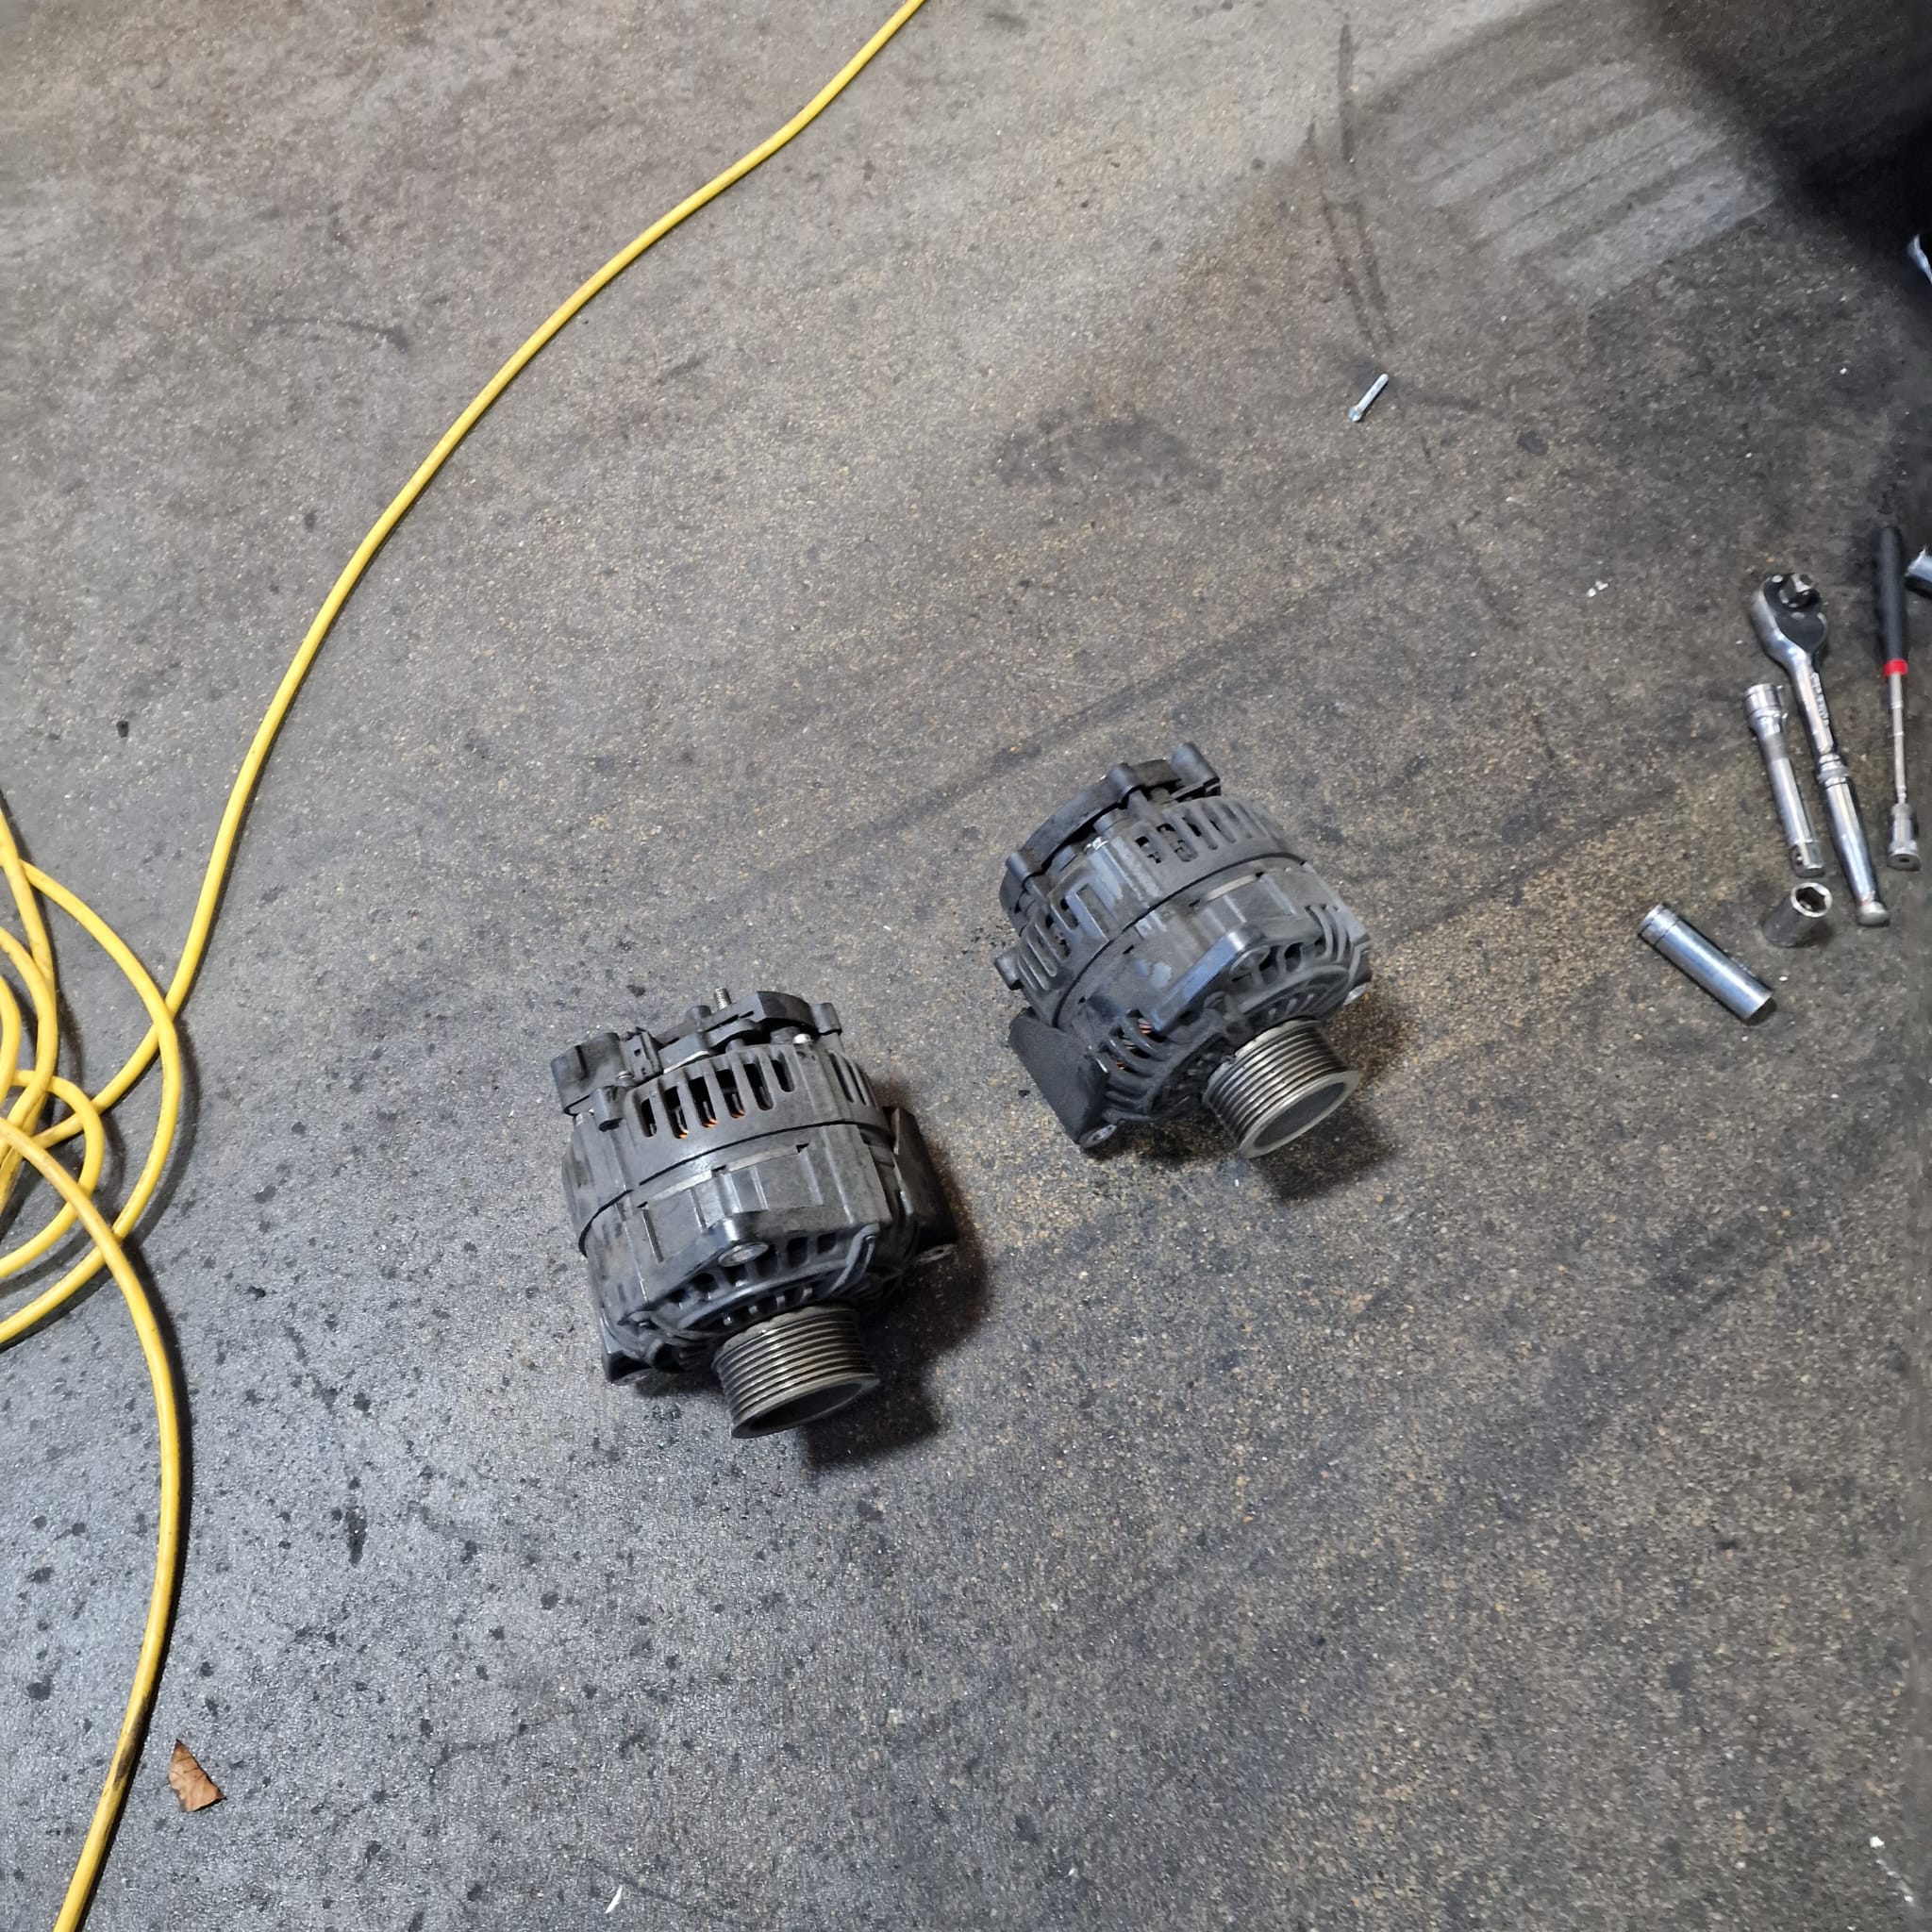
Step 6: Install New Alternator
Fit the new alternator by reversing removal steps.
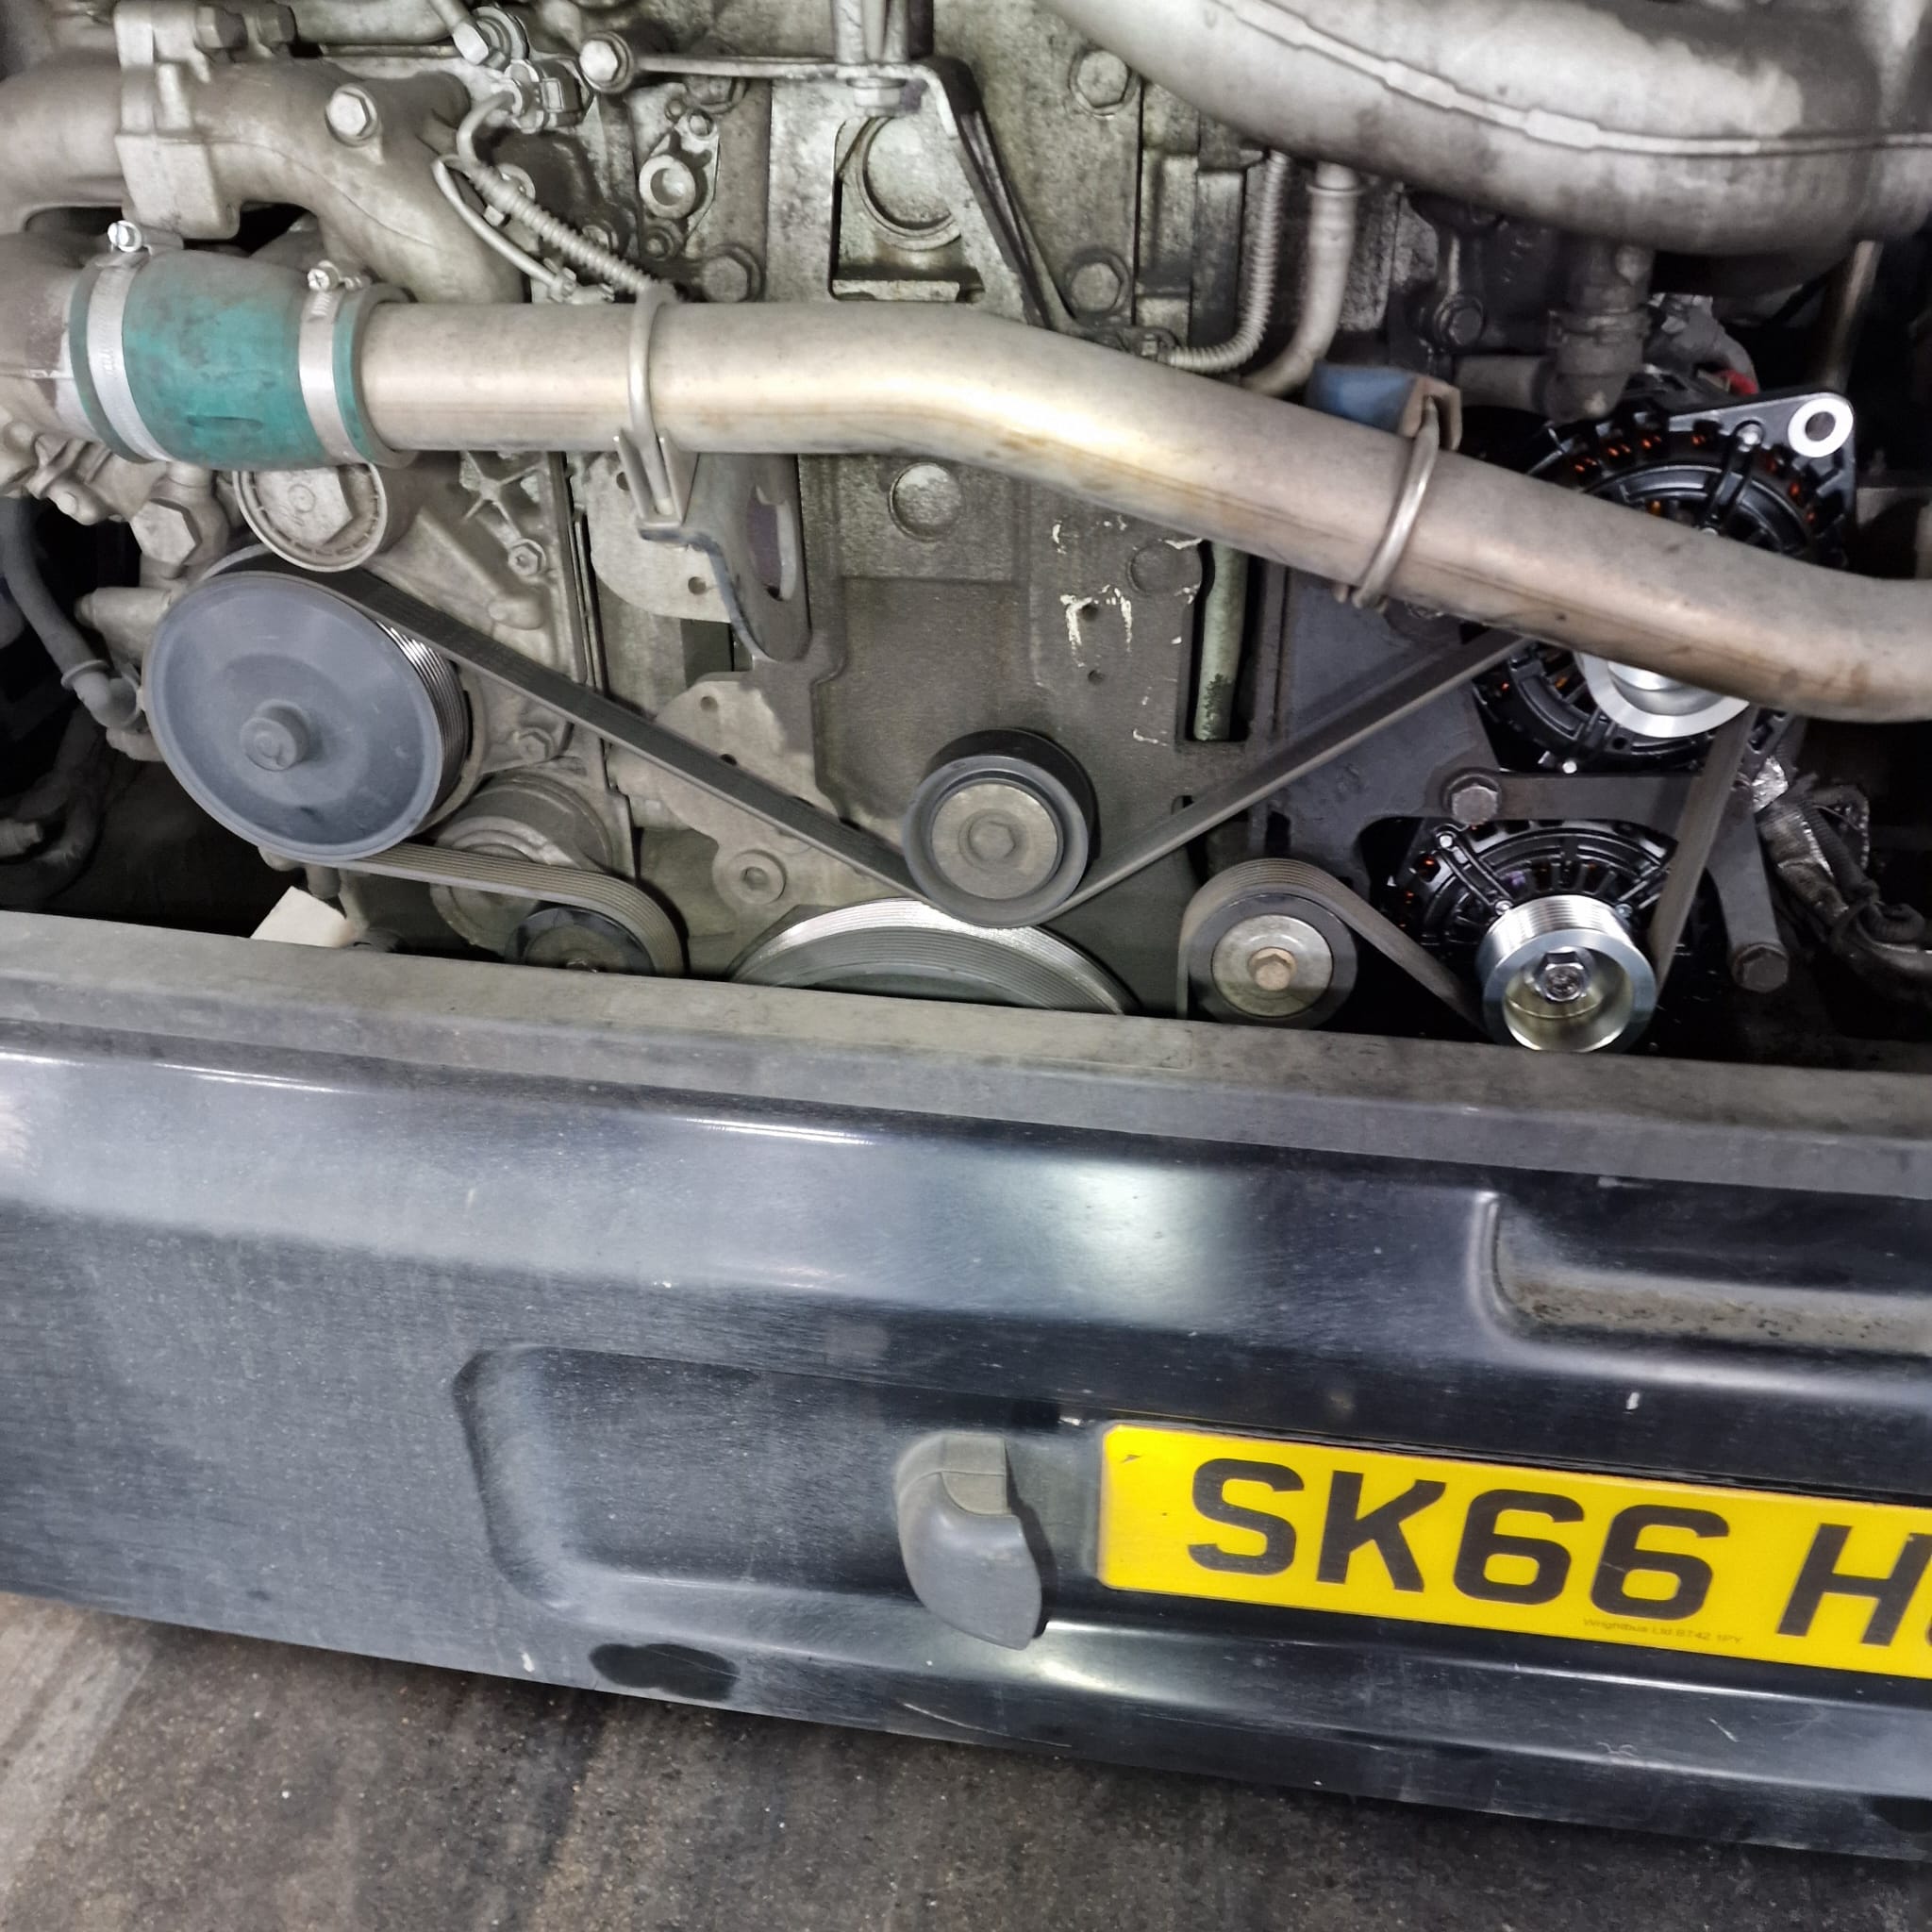
Reinstall the belt (don’t forget to remove the tensioner pin).
Switch on main power and check voltage again.

Continue Learning

Air bag SUspension
Learn step by step how to check, remove and replace a bus suspension airbag.
Read Guide